
Workshop Setup: Installing Guest Additions & Shared Folders
Now that Windows XP is installed, you might notice that the interface is a bit laggy and you cannot easily move files from your modern PC to the virtual one. To fix this, we need to install the VirtualBox Guest Additions.
This package contains drivers that optimize the virtual machine and enable essential features like the shared clipboard and shared folders.
1. Installing Guest Additions
In the VirtualBox window menu, go to Devices and select "Insert Guest Additions CD image...".

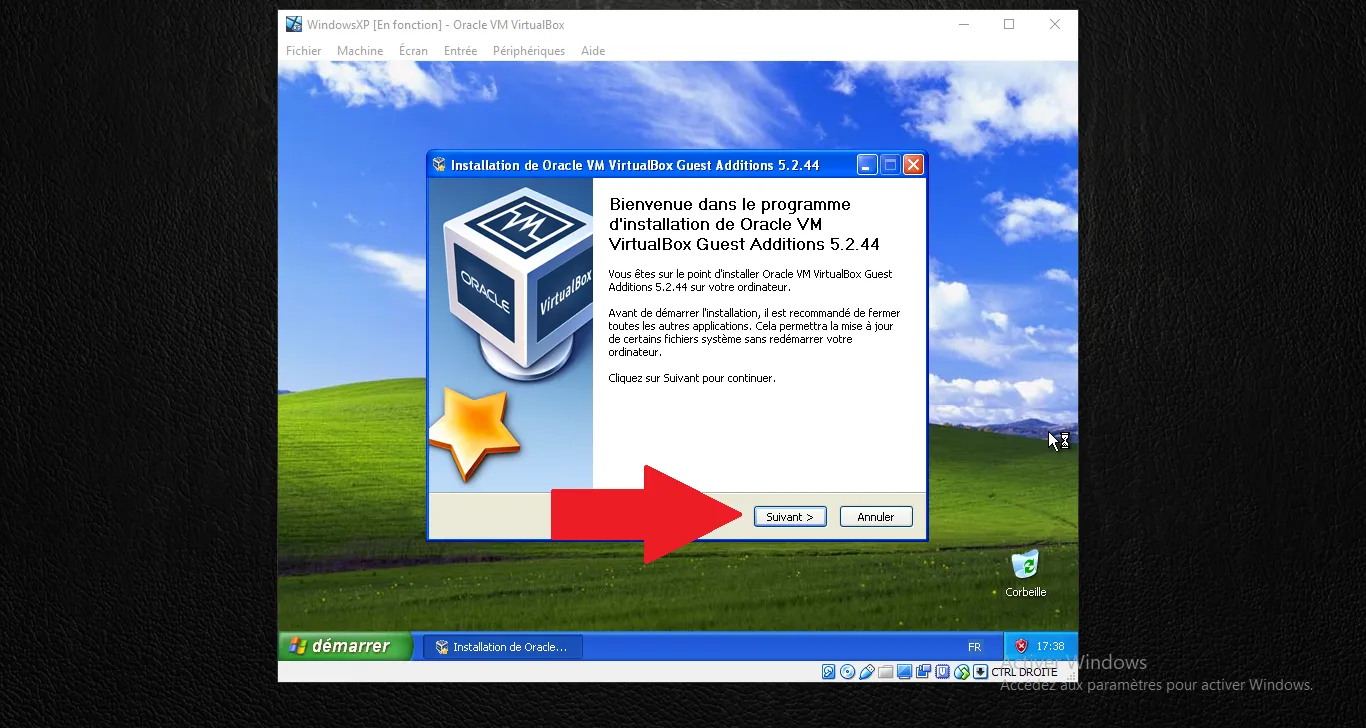
The installer should start automatically inside Windows XP. On the welcome screen, click "Next >".
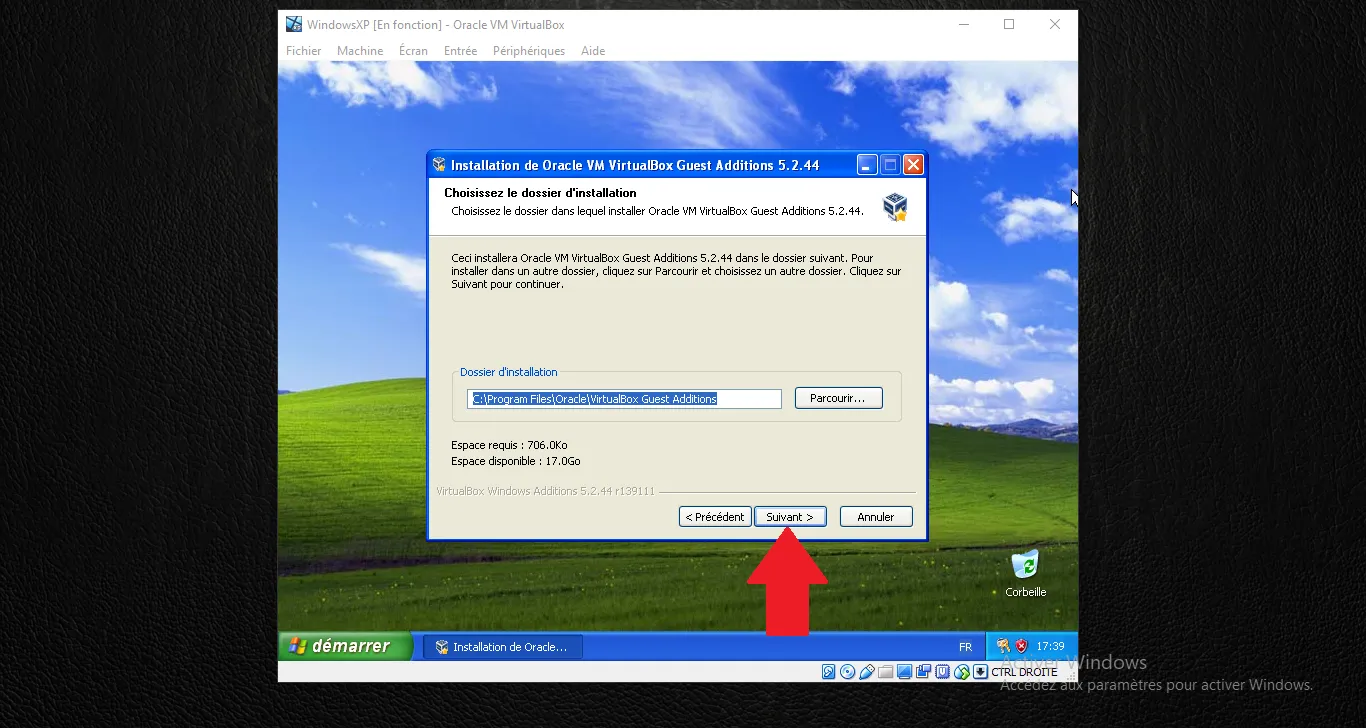
Keep the default destination folder and click "Next >".
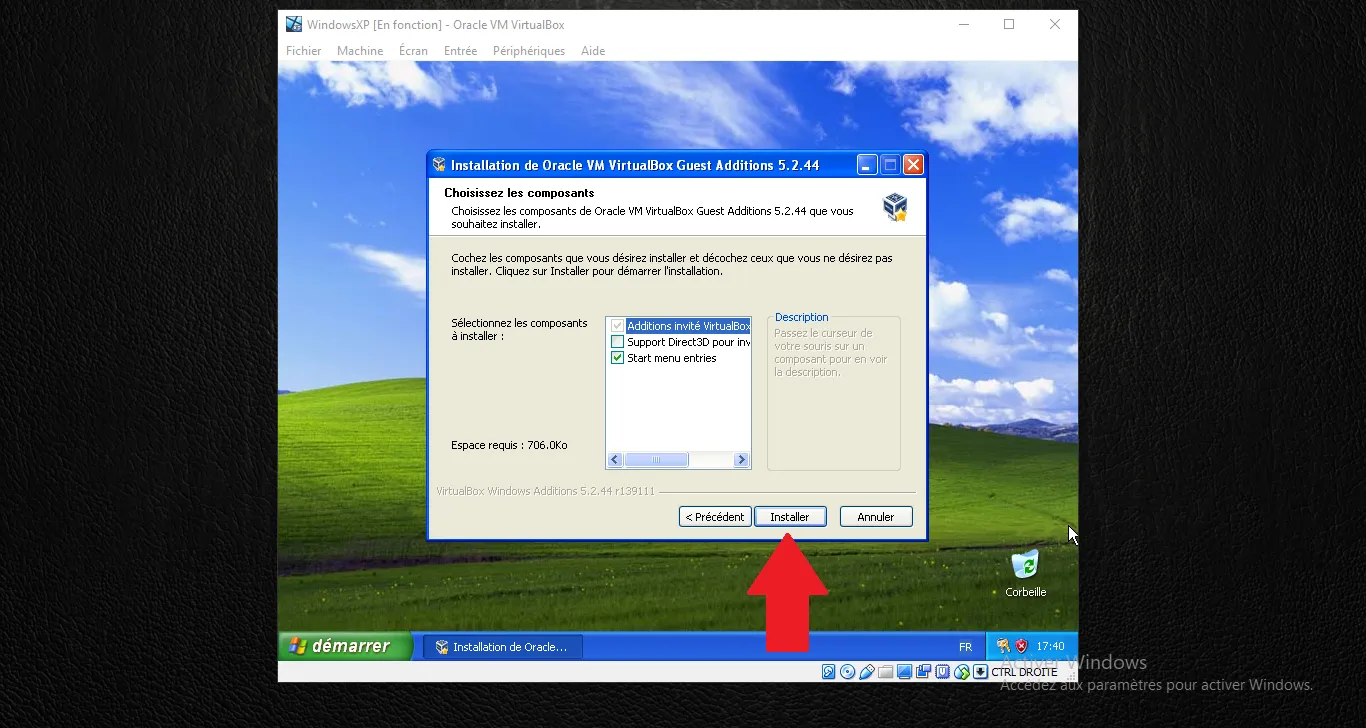
Keep the default components selected and click "Install".
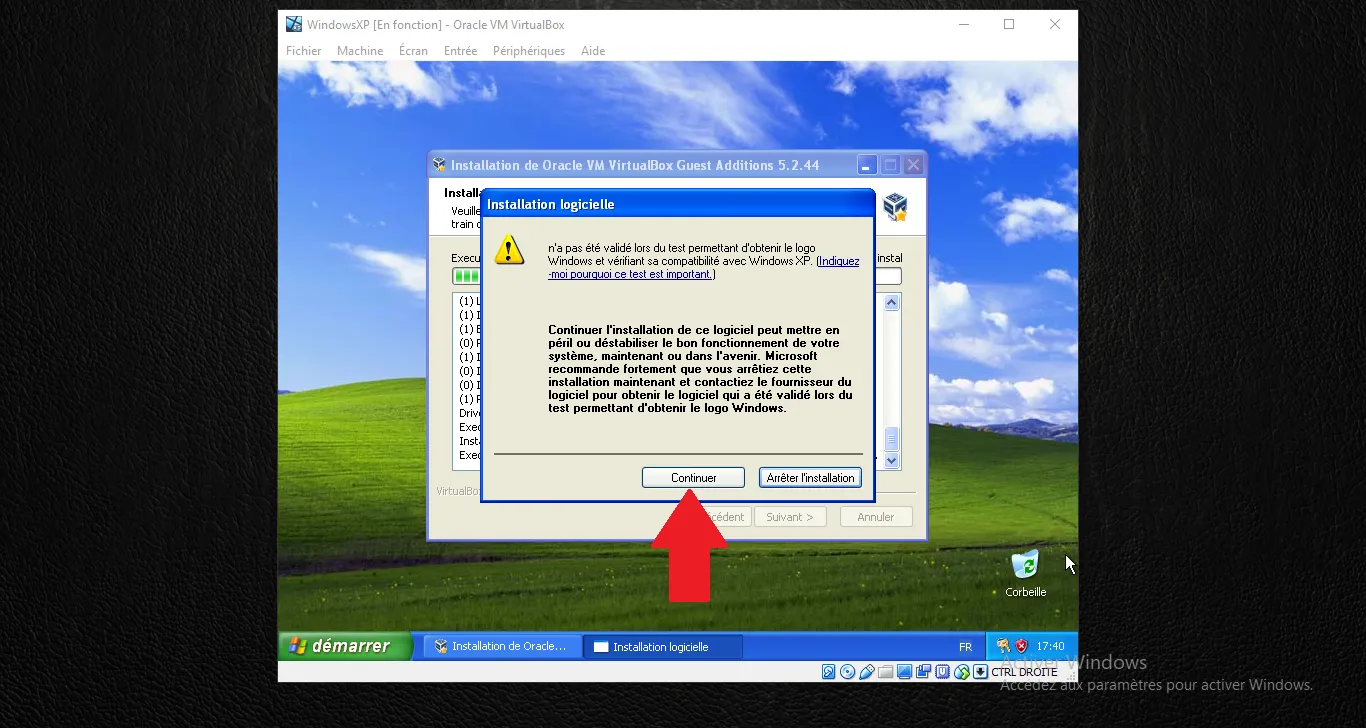
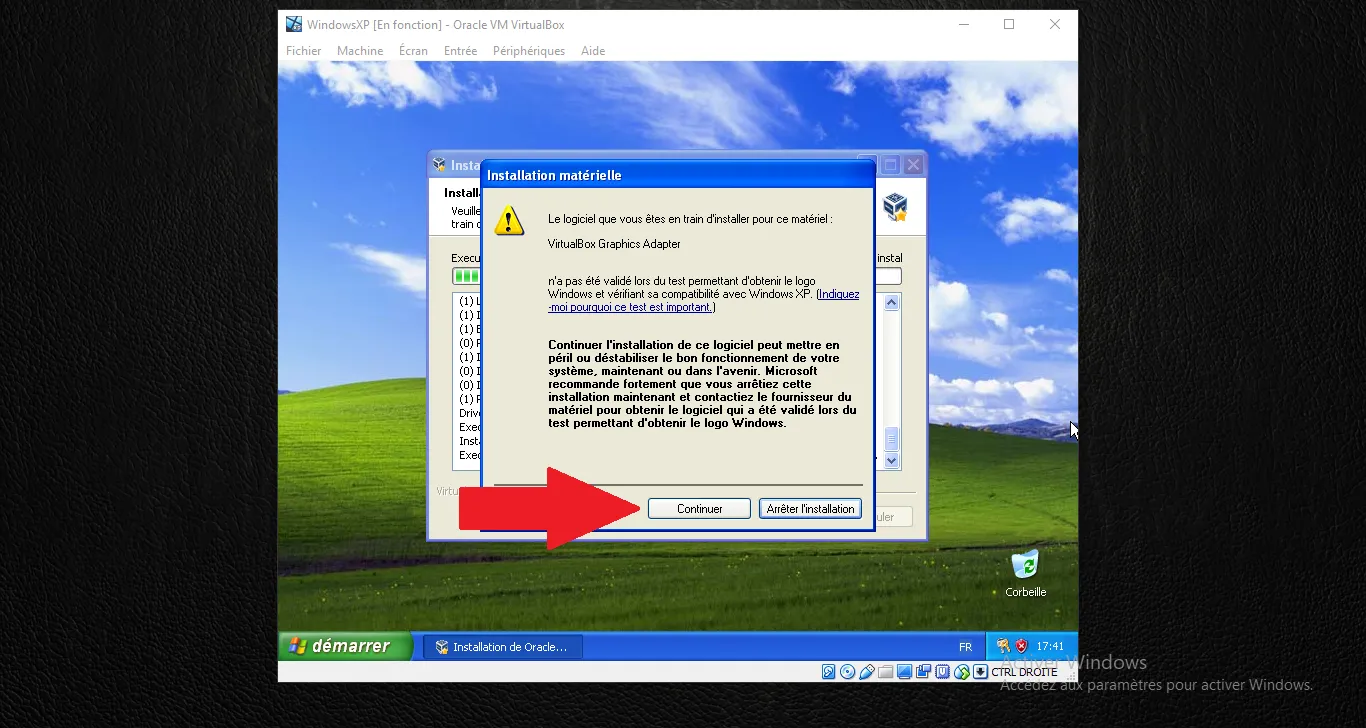
During installation, Windows XP will display several security warnings. For the software installation warning, click "Continue Anyway".
When the "Hardware Installation" warning for the VirtualBox Graphics Adapter appears, click "Continue Anyway".
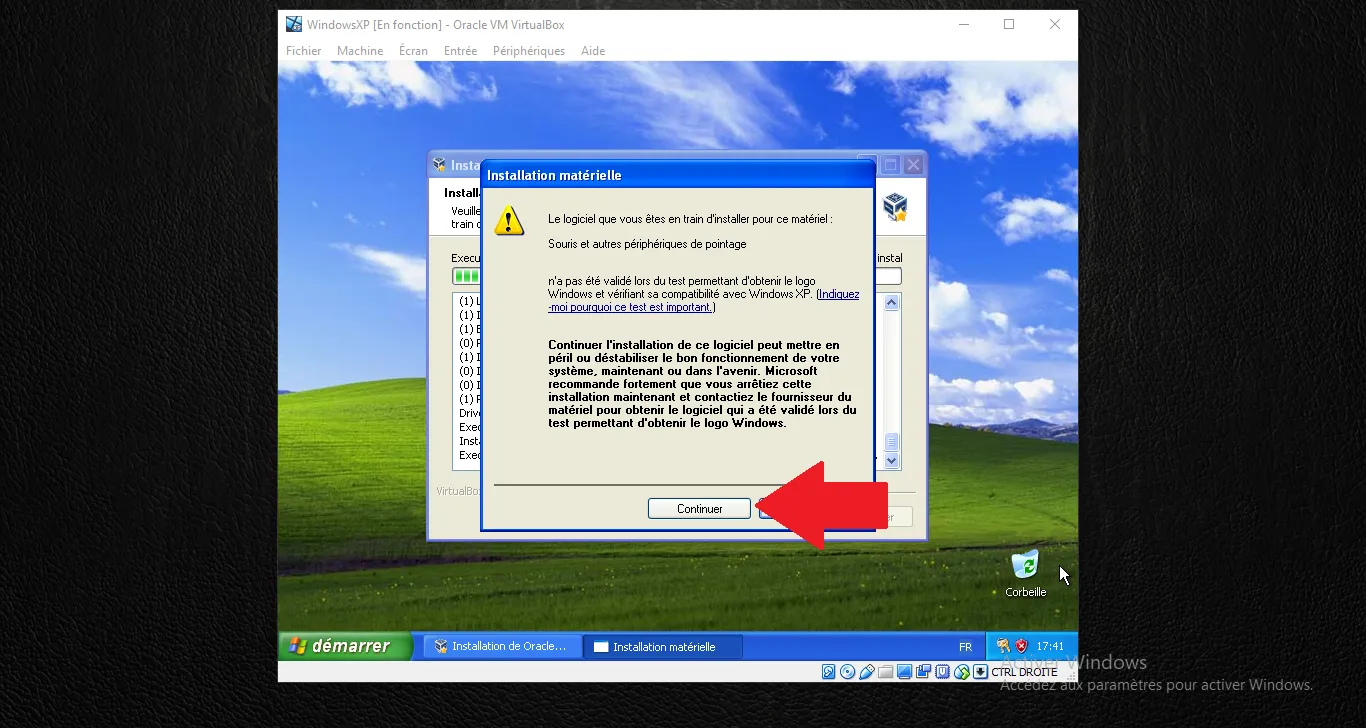
Do the same for the Mouse and other pointing devices warning by clicking "Continue Anyway".
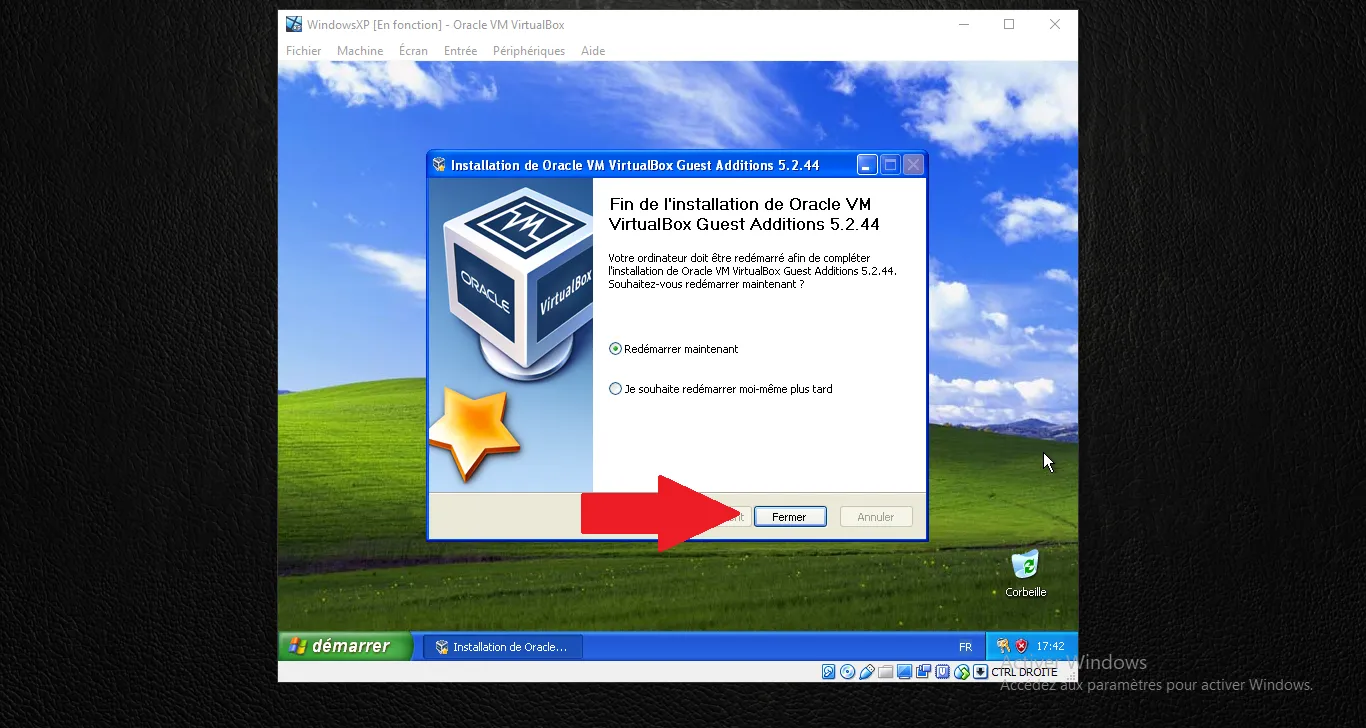
Once finished, ensure "Reboot now" is selected and click "Finish". Your VM will restart with optimized drivers.
2. Enabling Shared Features
Now that the drivers are installed, we need to enable the communication between your host PC and the VM.
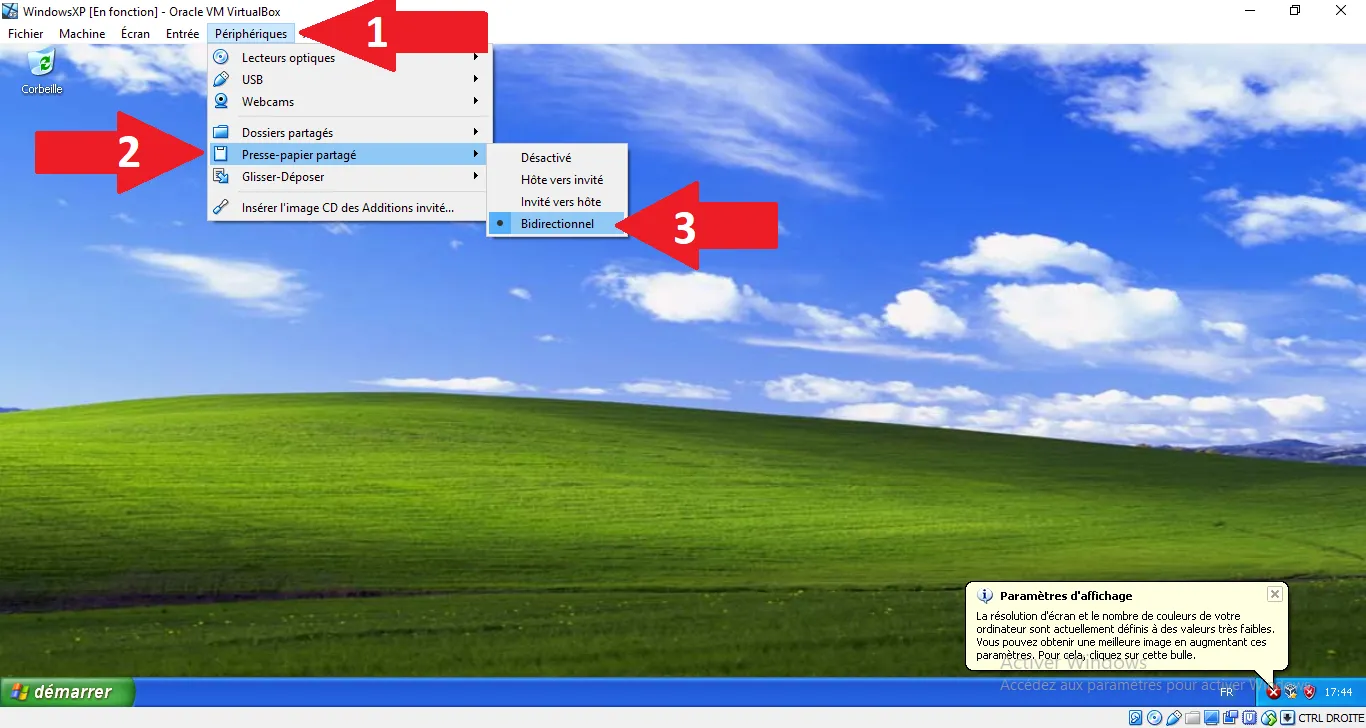
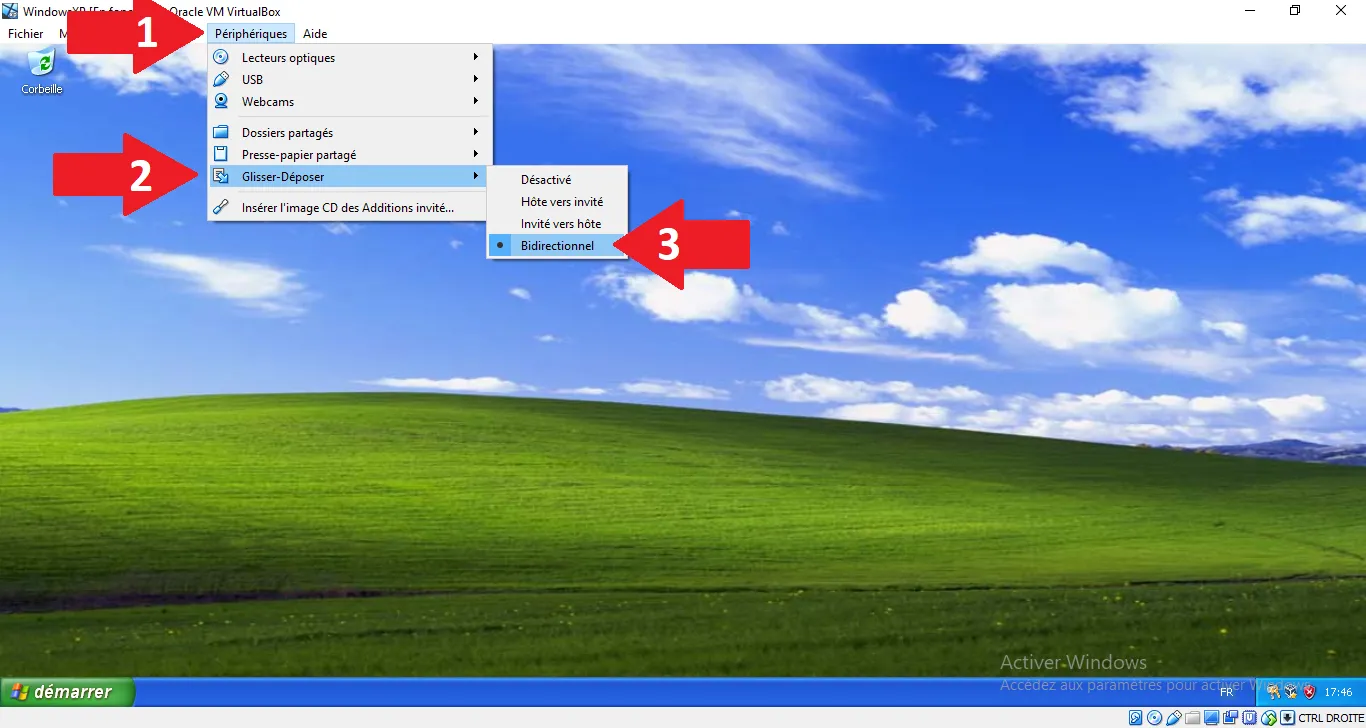
Go to Devices > Shared Clipboard and select Bidirectional. This allows you to copy text on Windows 11 and paste it in Windows XP (and vice-versa).
Go to Devices > Drag and Drop and select Bidirectional.
3. Configuring Shared Folders
This is the most important part for transferring Saab software installers to your VM.
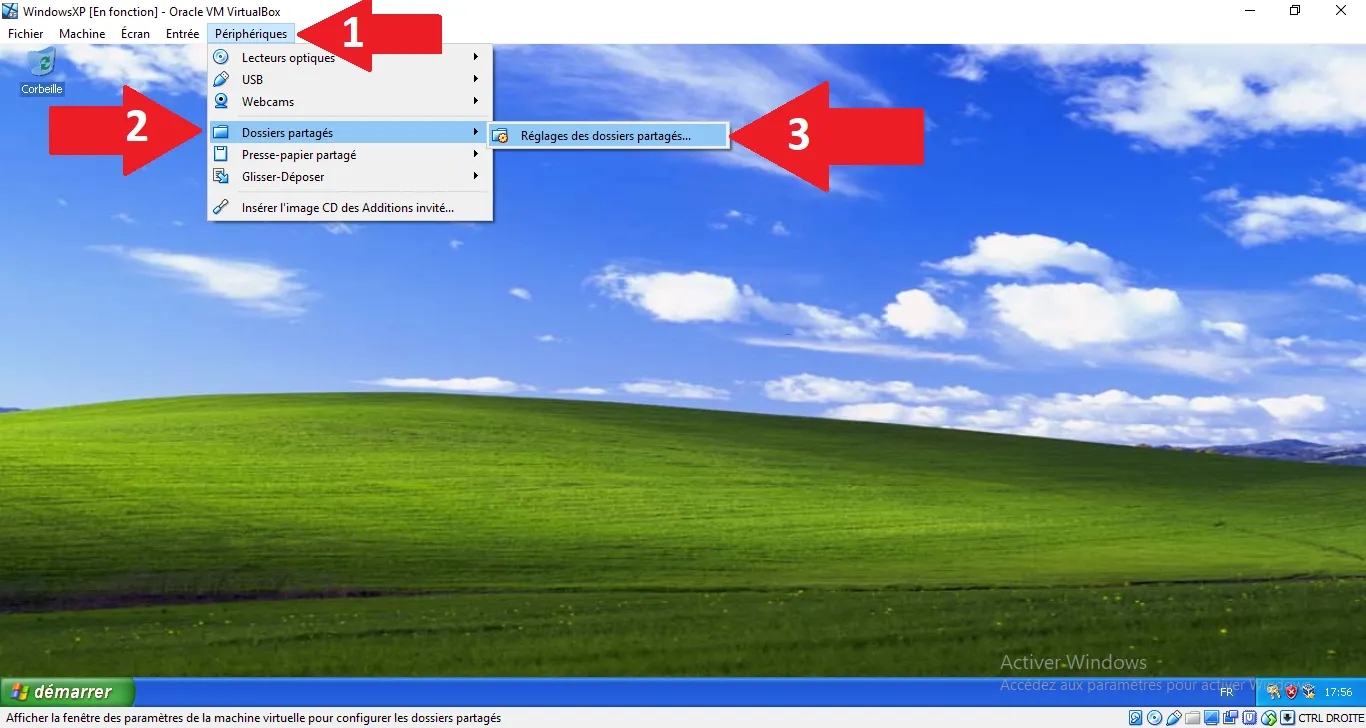
Go to Devices > Shared Folders > Shared Folders Settings....
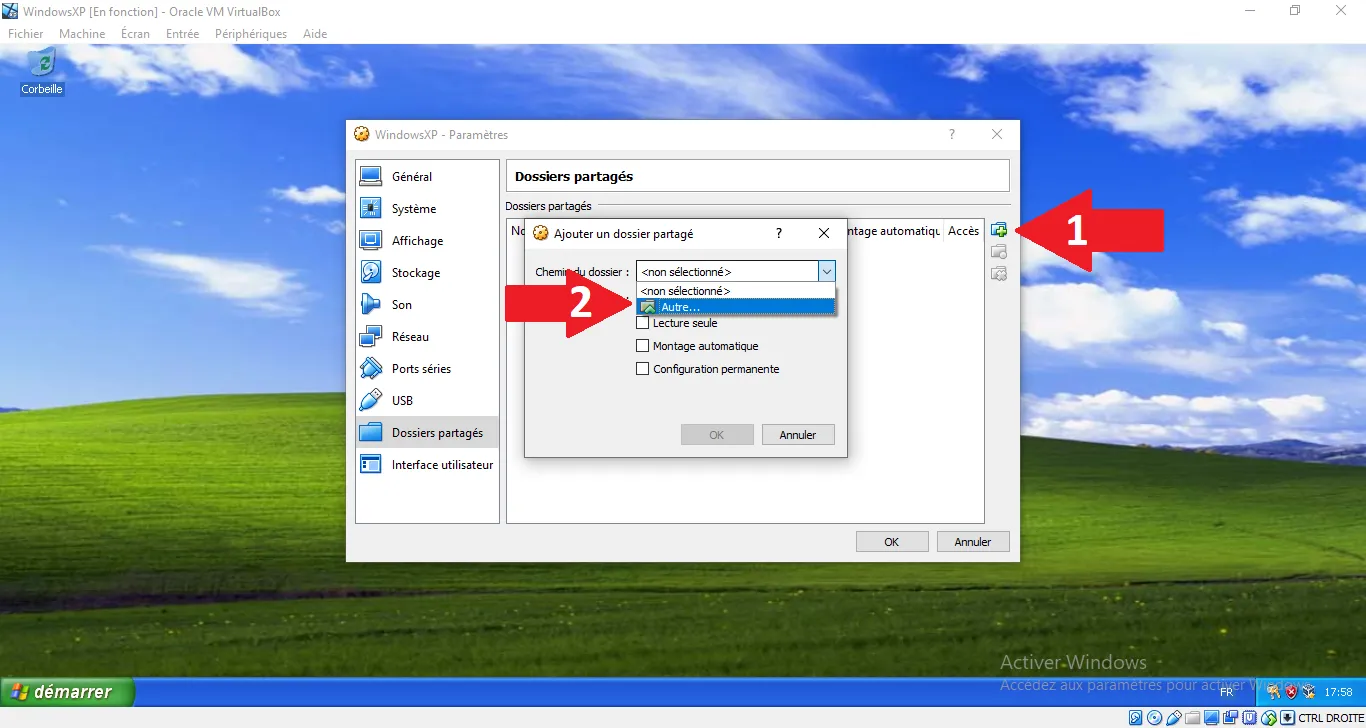
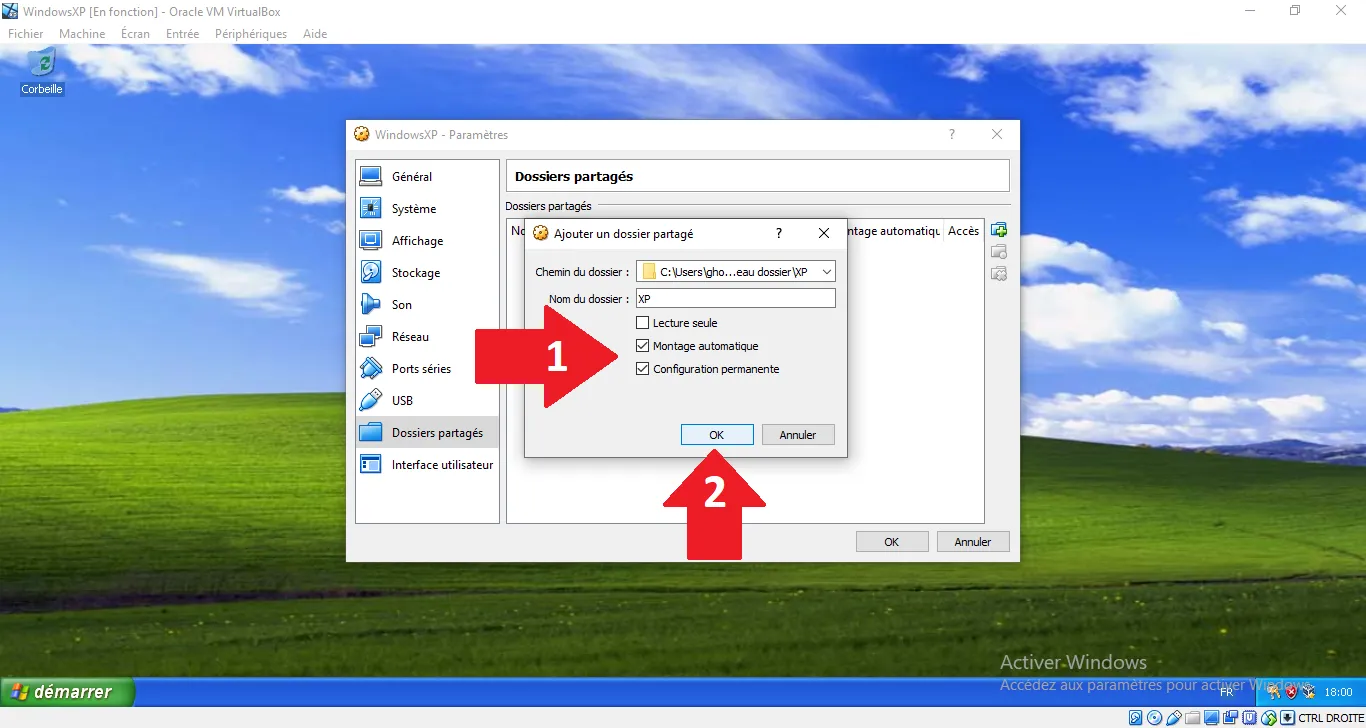
Click the small "+" icon on the right to add a new folder, then in "Folder Path", select "Other...".
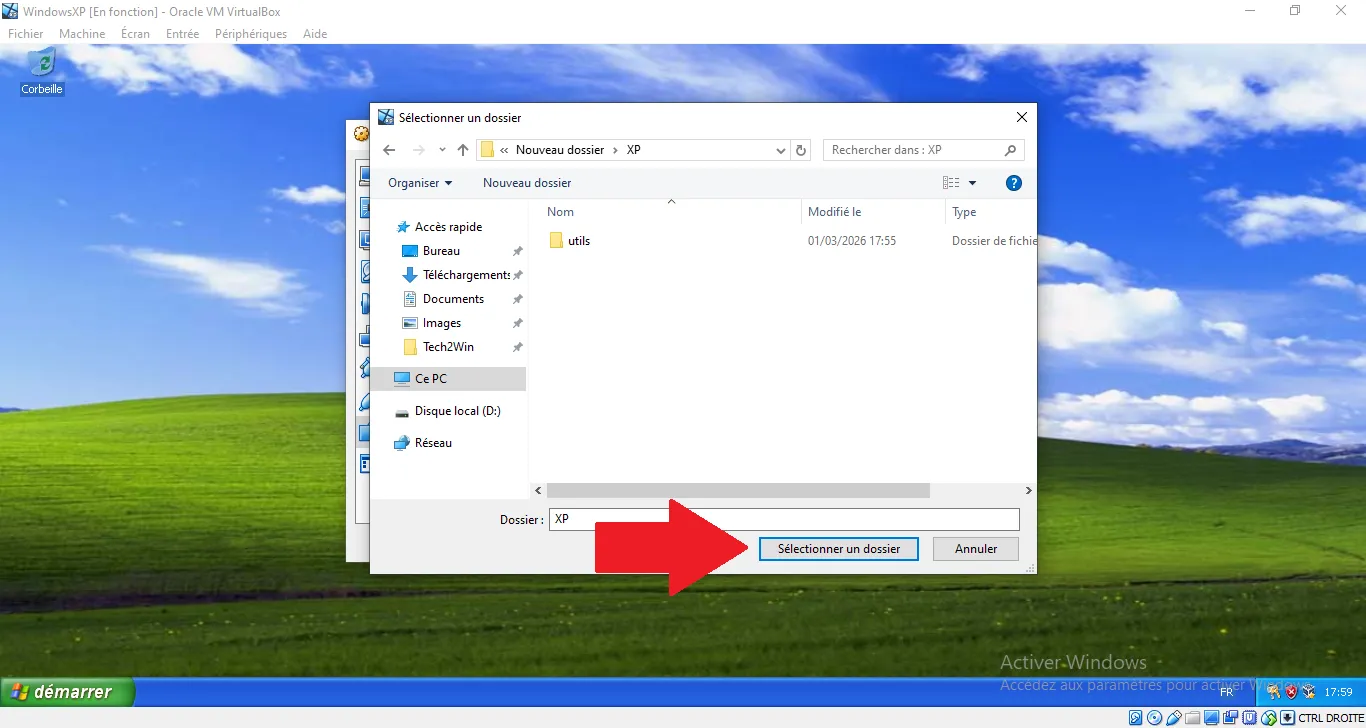
Select the folder on your real computer that contains your Saab files and click "Select Folder".
Check "Auto-mount" and "Make Permanent". Click OK.
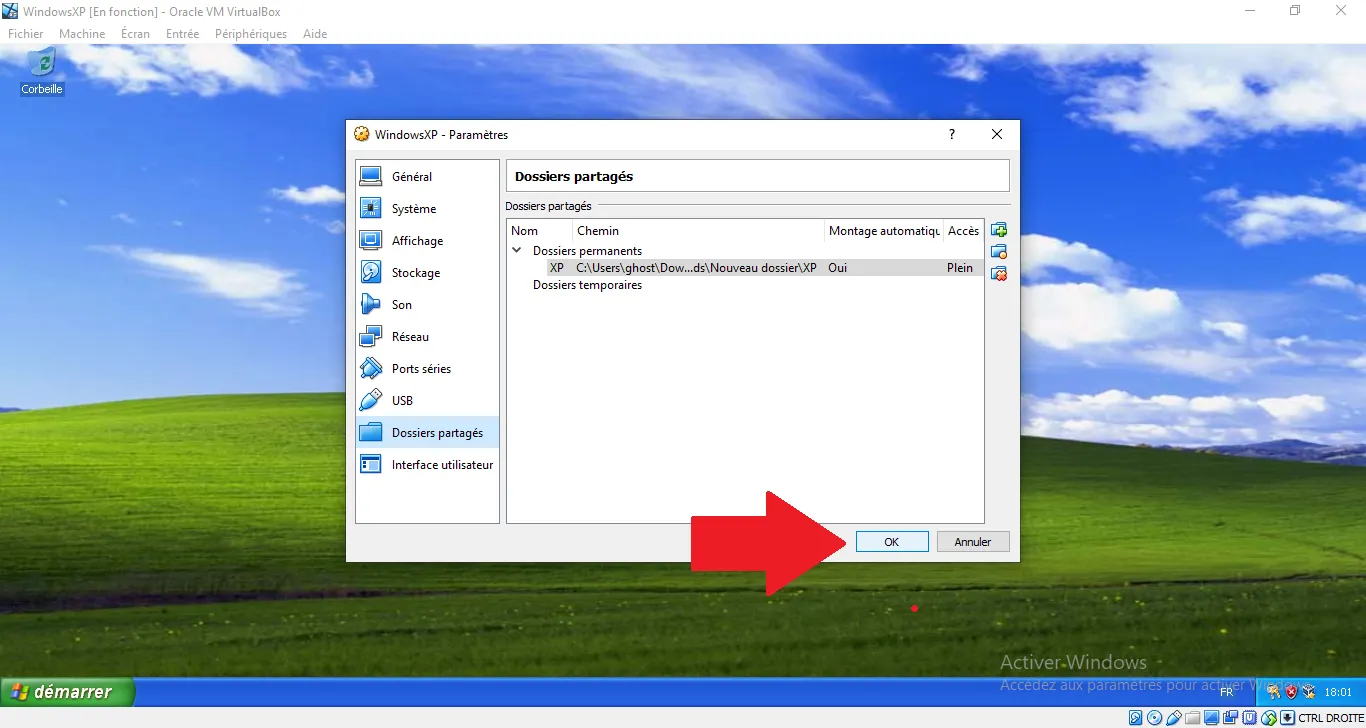
The folder should now appear in the list. Click OK to close the settings.
4. Accessing the Files in XP
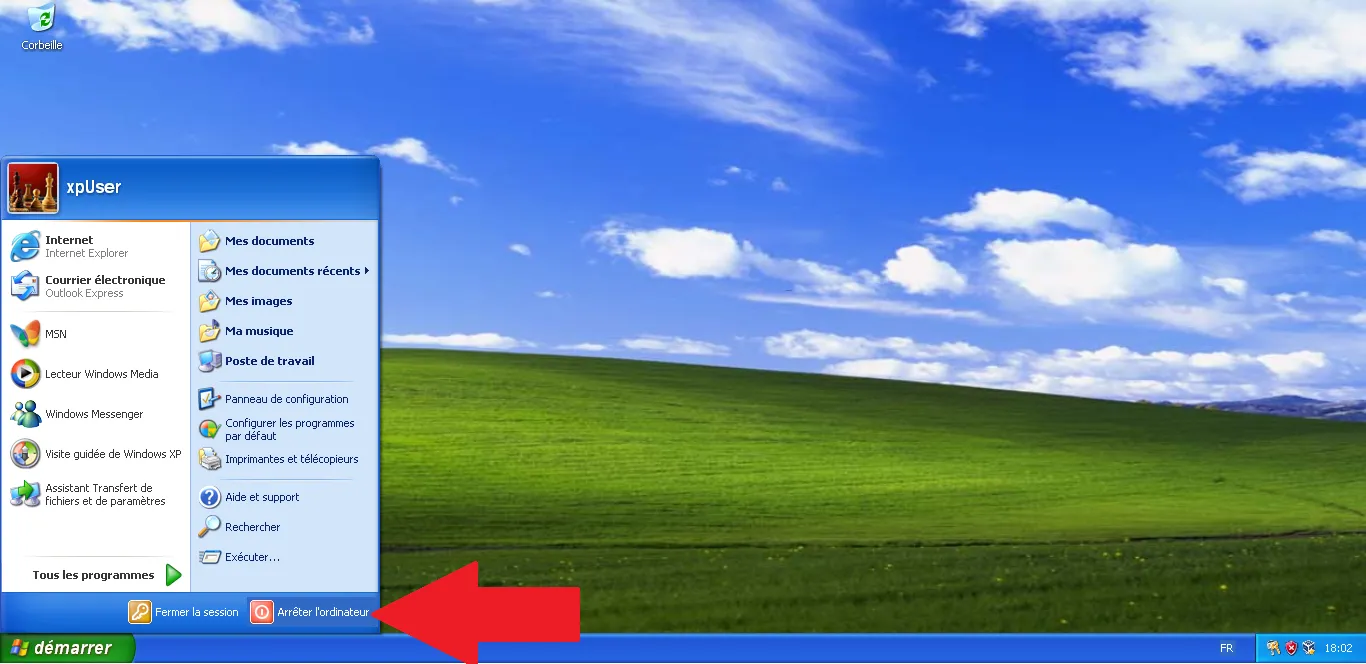
To ensure everything is properly mapped, click Start and then "Shut Down".
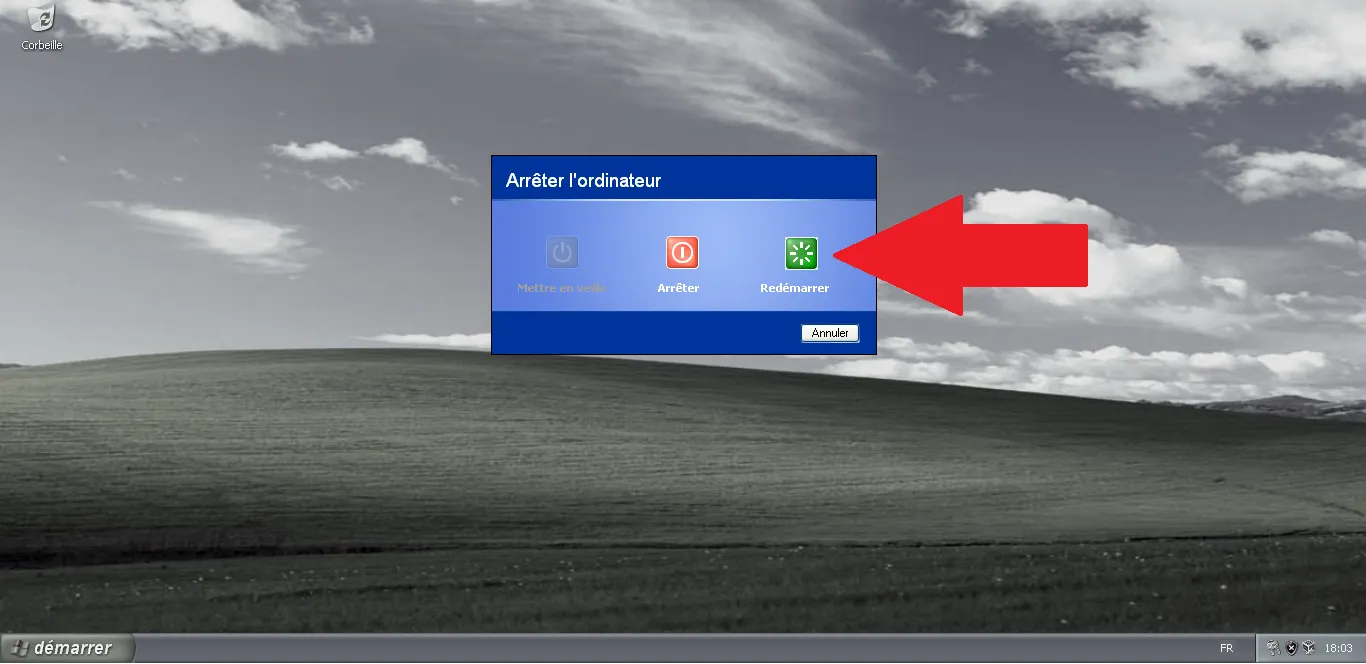
Select "Restart" and click OK.
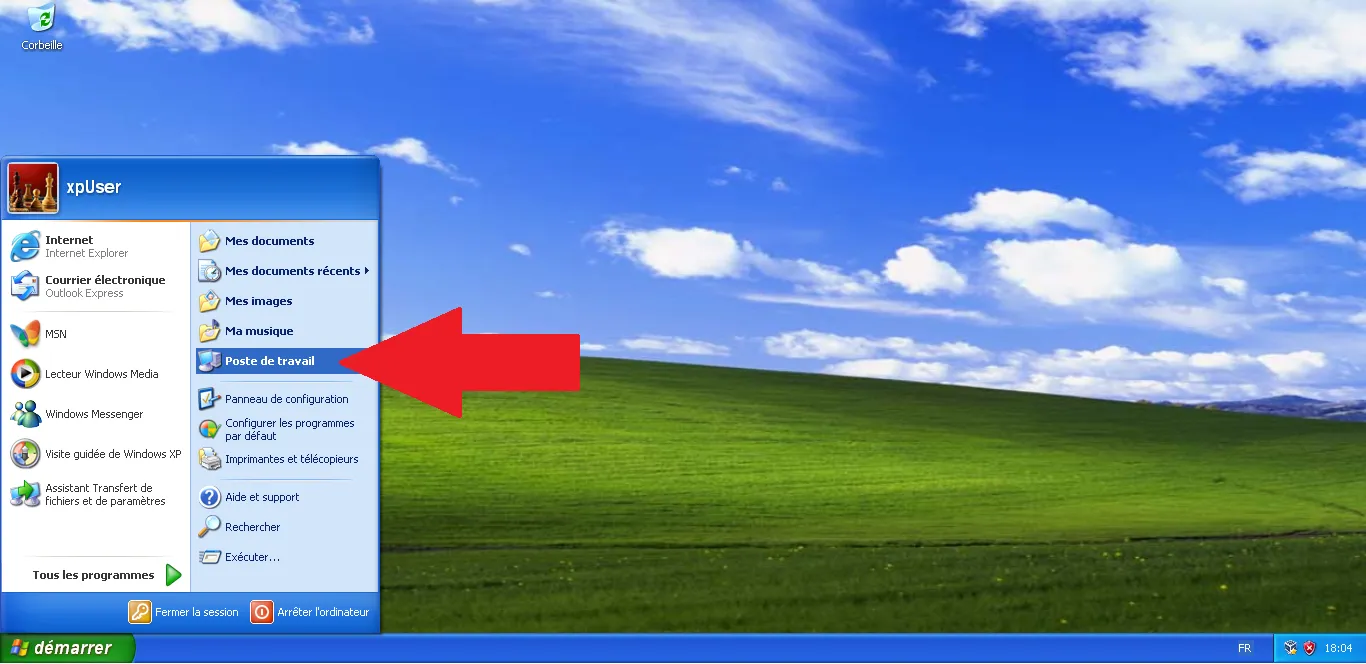
Once back on the desktop, open "My Computer".
You will now see a new network drive (usually E: or Z:) labeled "vboxsrv". This is your shared folder!

Note: Your workshop is now fully functional and connected to your main PC. In the next article, we will install the essential basic utilities like 7-Zip and Sumatra PDF.
Technical validation:
- Guest Additions: Version 5.2.44 matching the VirtualBox build.
- Drivers: Bypassing Windows Logo testing is mandatory for VirtualBox drivers on XP.
- Shared Folders: Auto-mount feature requires Guest Additions service to be running.

