
Workshop Setup: Creating a Windows XP Virtual Machine
After installing VirtualBox 5.2.44, the next logical step is to create the Virtual Machine (VM) that will act as the host for our Windows XP environment. This environment is mandatory for running legacy software such as WIS, EPC, or GlobalTIS.
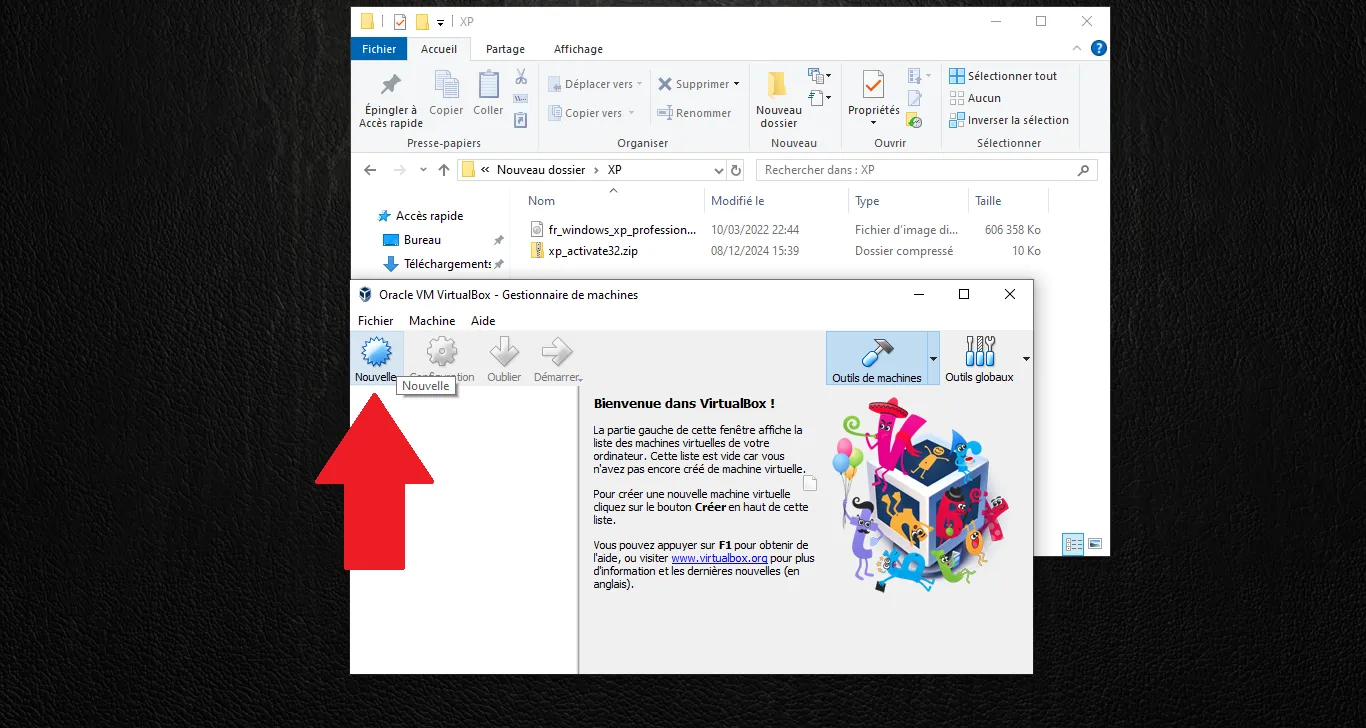
1. Creating the Virtual Machine
Open VirtualBox and click the "New" button to start the wizard.
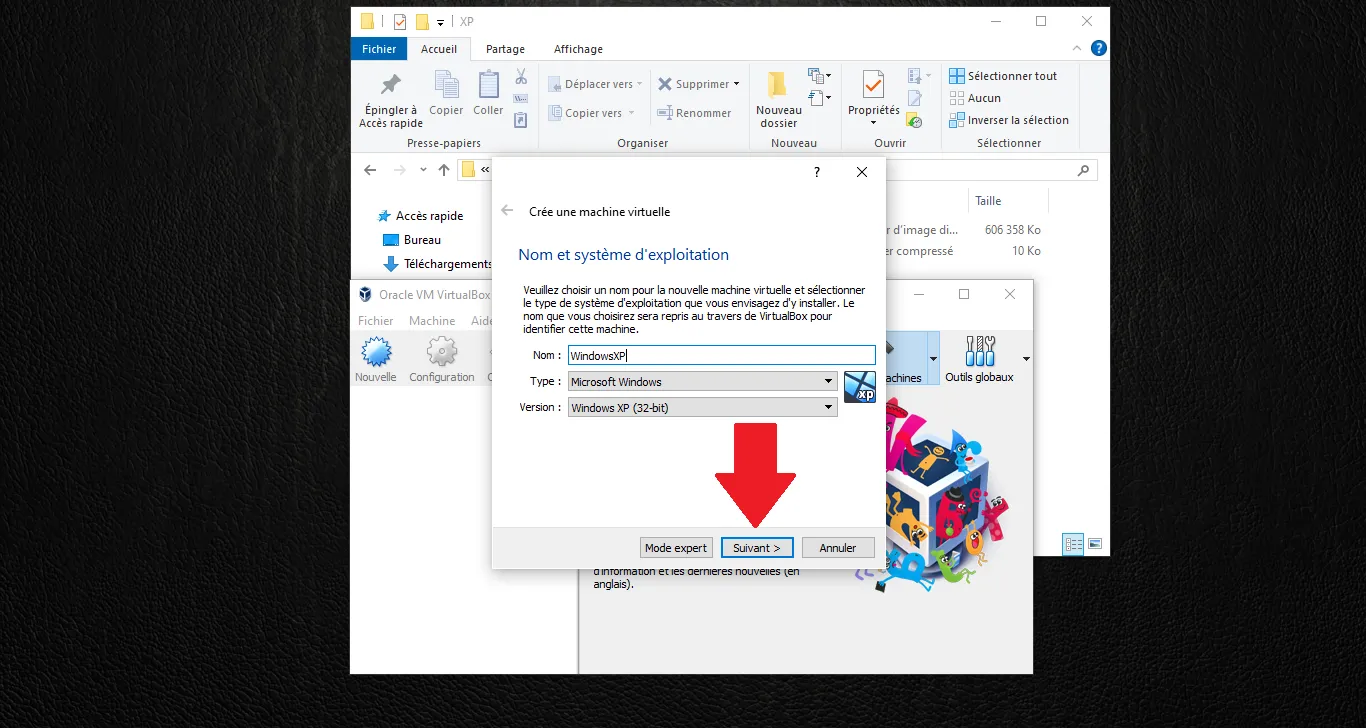
Enter the name WindowsXP, select Microsoft Windows as the Type, and Windows XP (32-bit) as the Version. Click "Next".
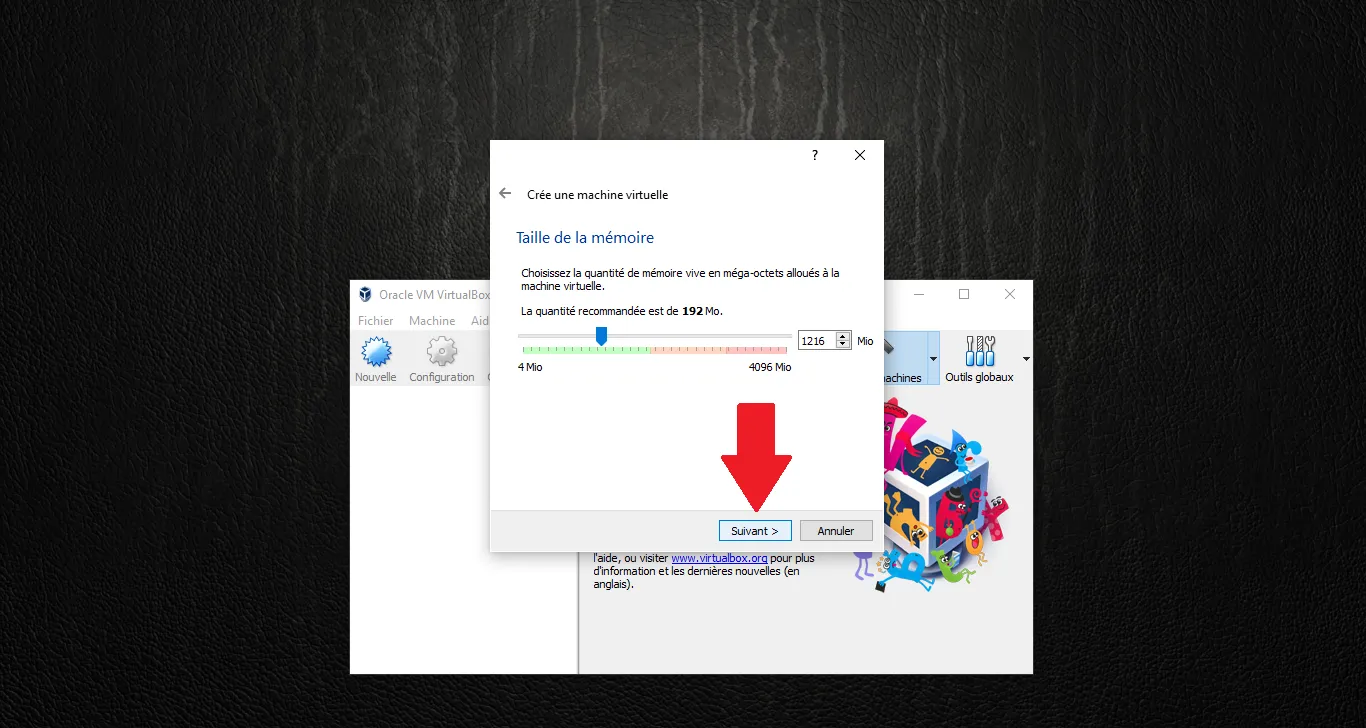
Allocate the RAM. We recommend at least 1024 MB (the screenshot shows 1216 MB). Click "Next".
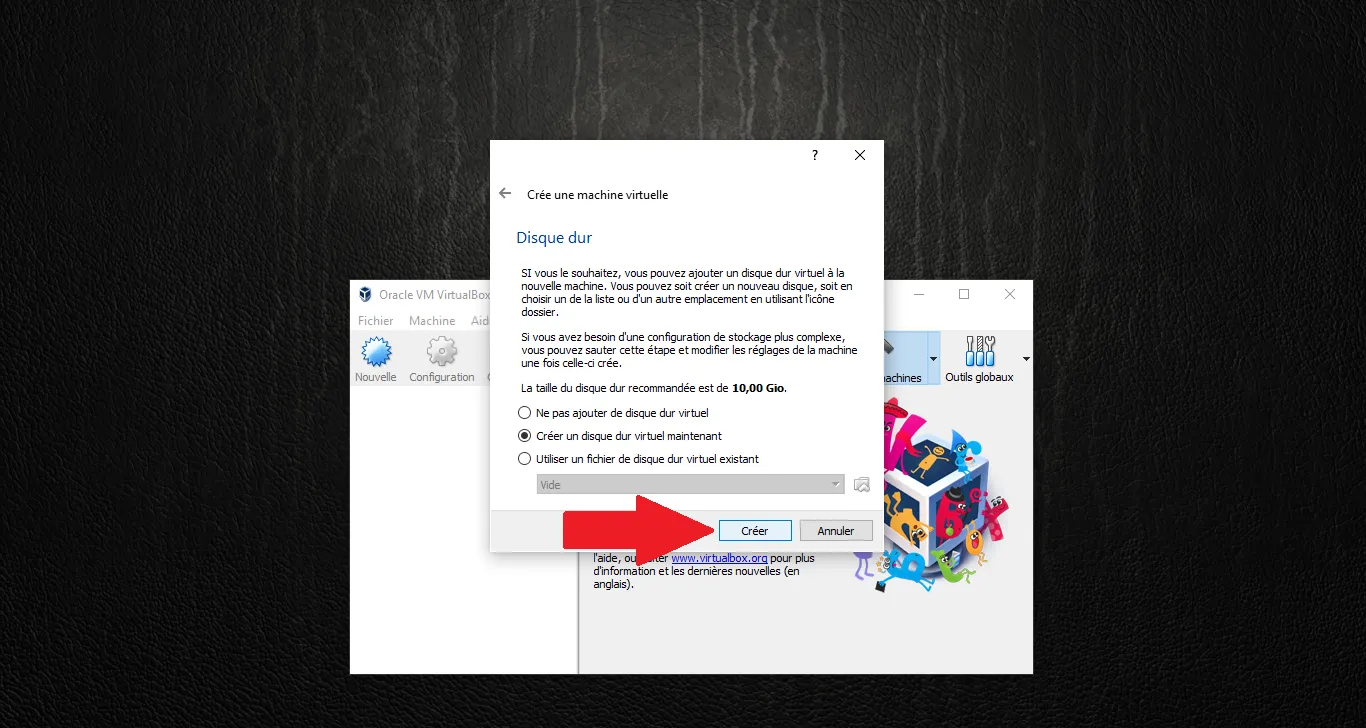
Select "Create a virtual hard disk now". Click "Create".
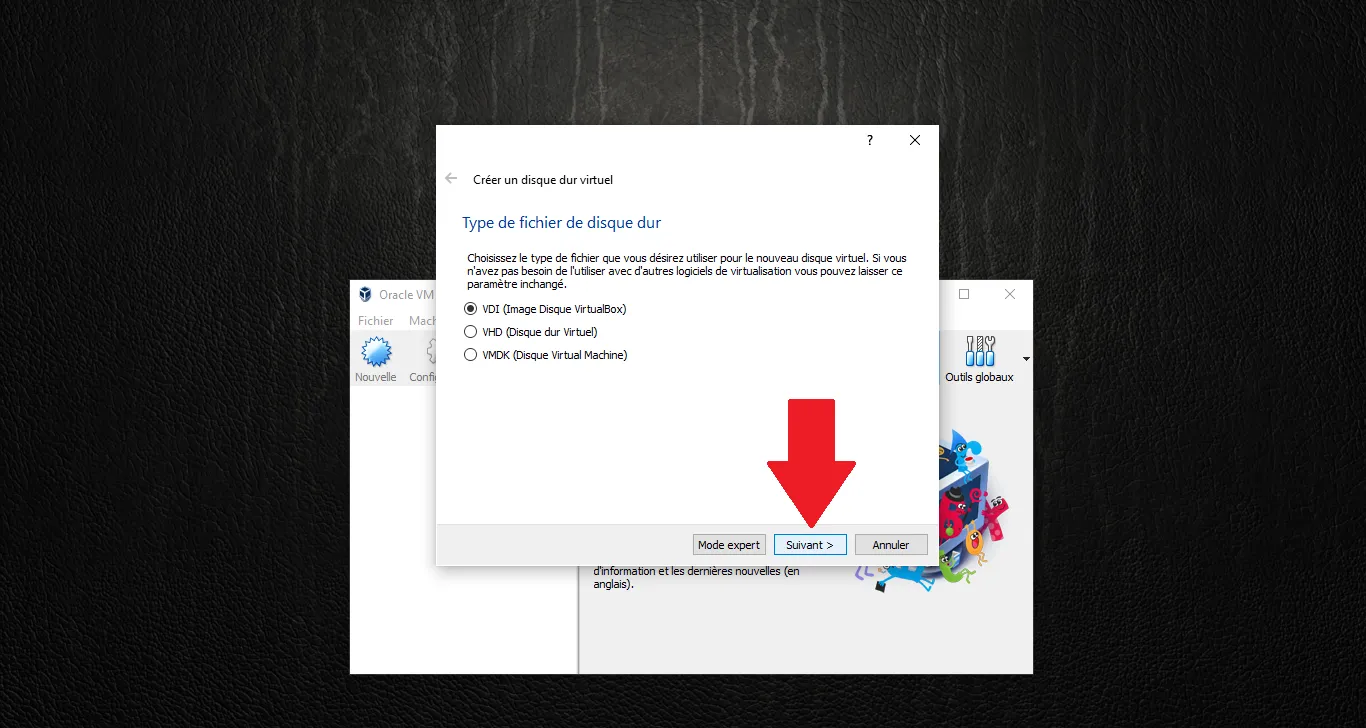
Keep the default VDI (VirtualBox Disk Image) format. Click "Next".
Choose "Dynamically allocated" so the file only grows as you use it. Click "Next".

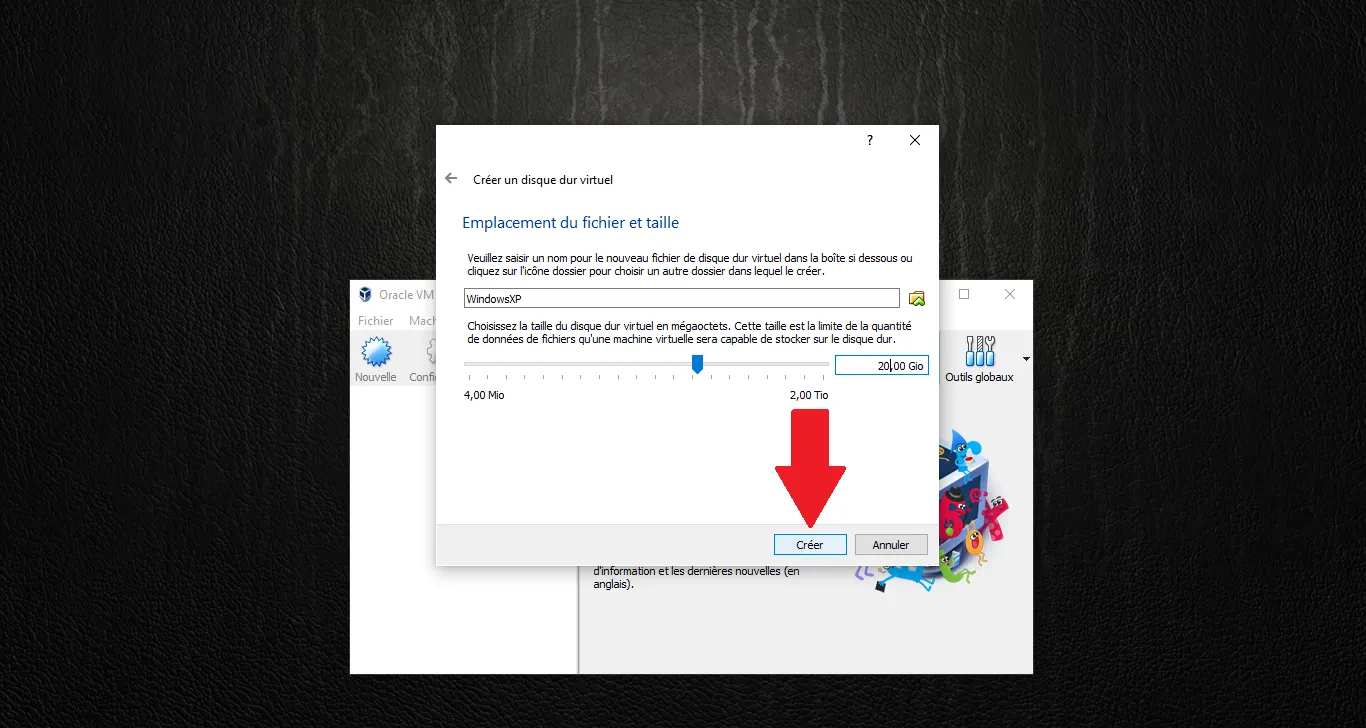
Set the disk size to 20.00 GB. This is plenty for the Saab suite. Click "Create".
2. Fine-tuning the Settings
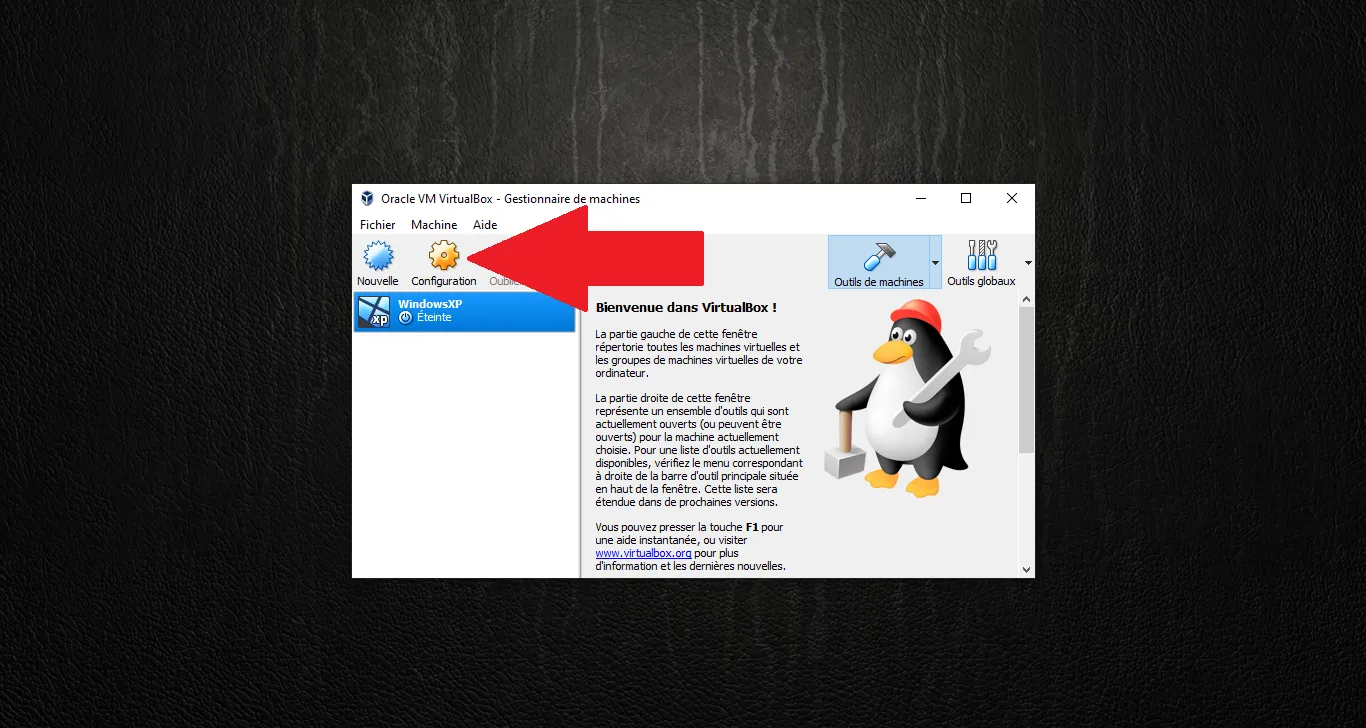
Your VM is created but not yet ready. Click on "Settings" (the gear icon).
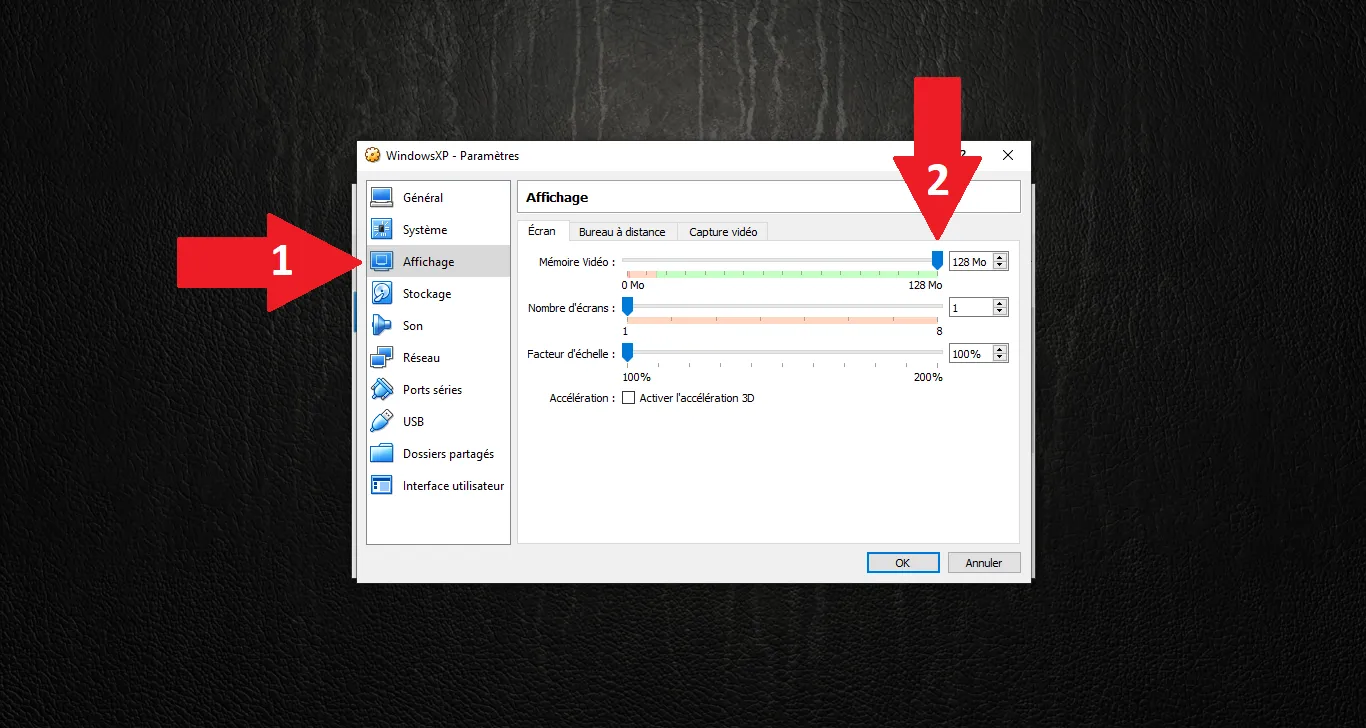
In the Display section, slide the Video Memory to 128 MB to ensure a smooth interface.
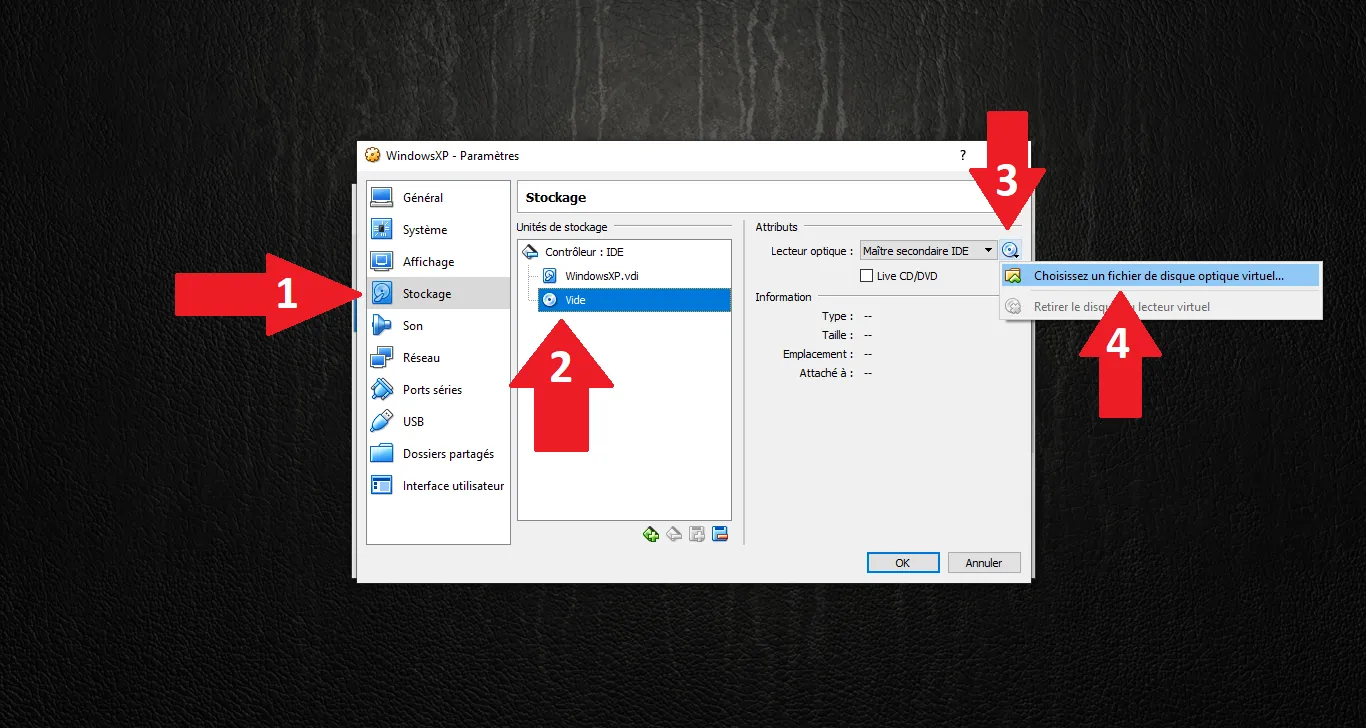
Go to Storage, select the "Empty" optical drive, click the small CD icon on the right, and choose "Choose a virtual optical disk file...".
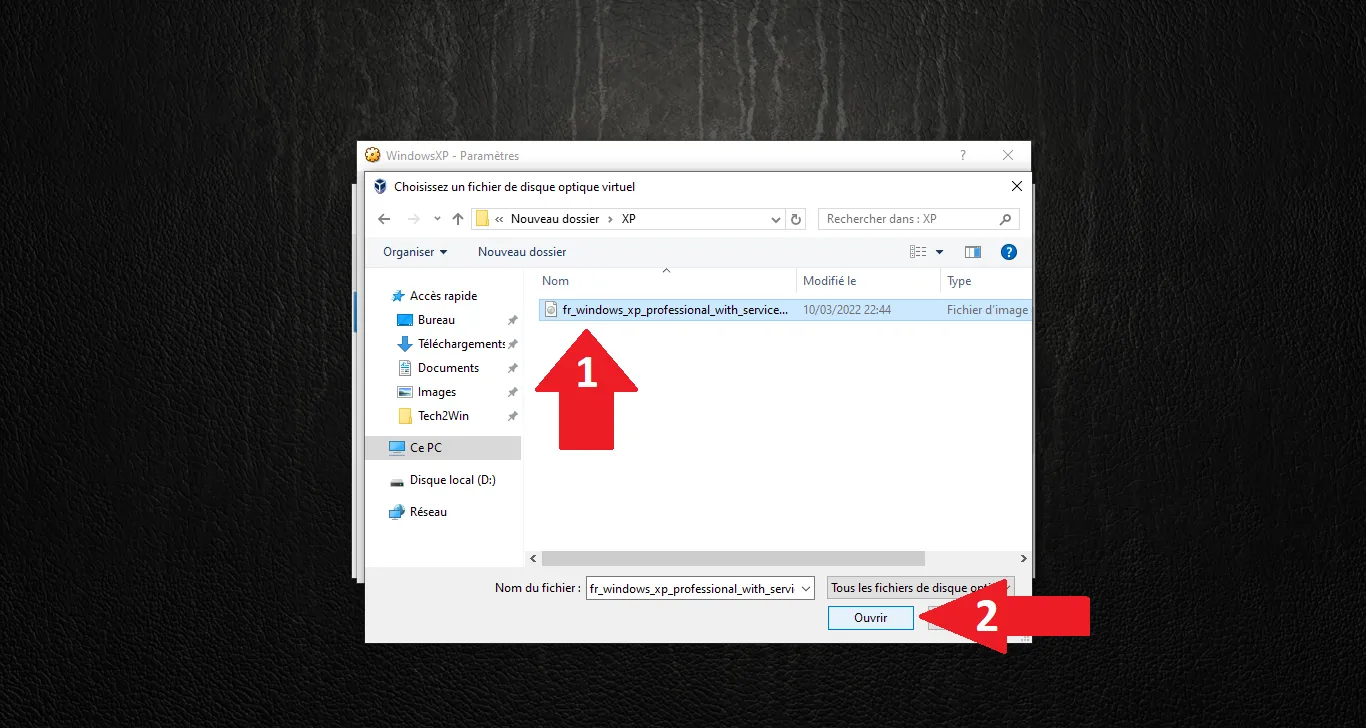
Locate and select your Windows XP ISO file, then click "Open".
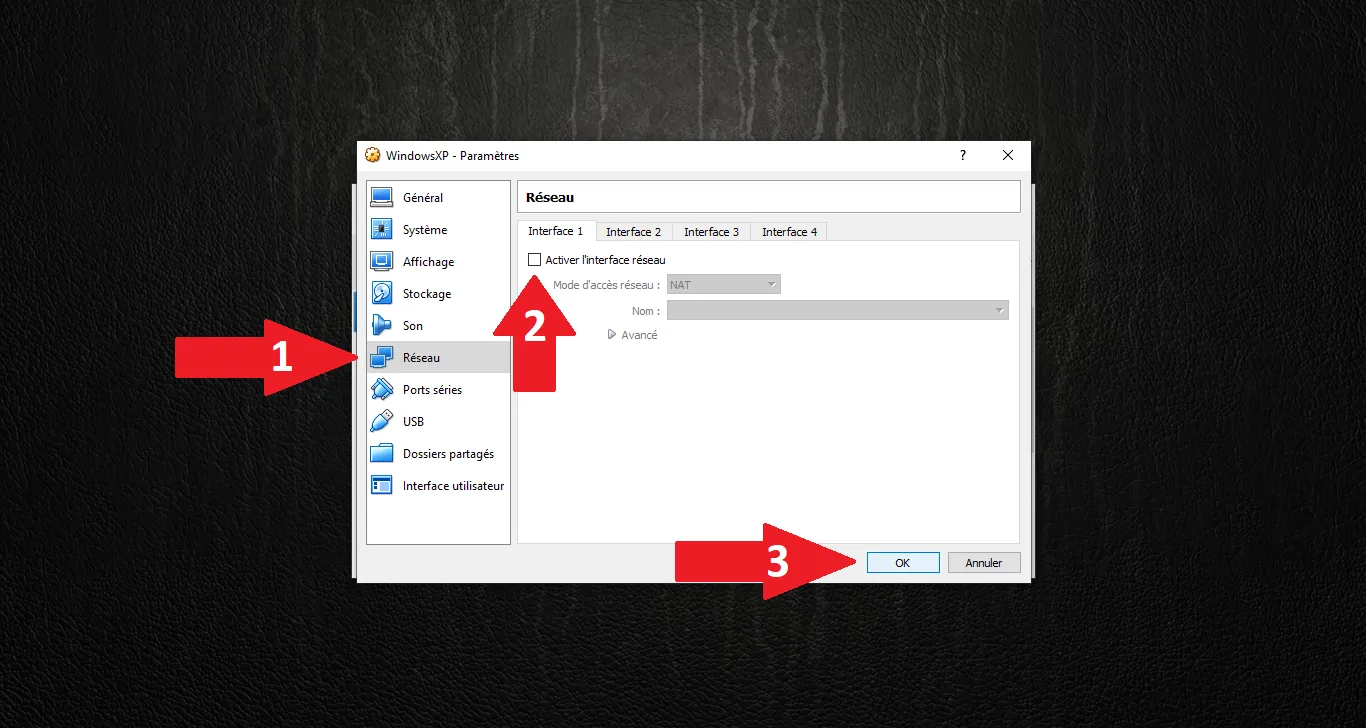
In the Network section, ensure "Enable Network Adapter" is checked. Click OK to save all settings.
3. Starting the Installation
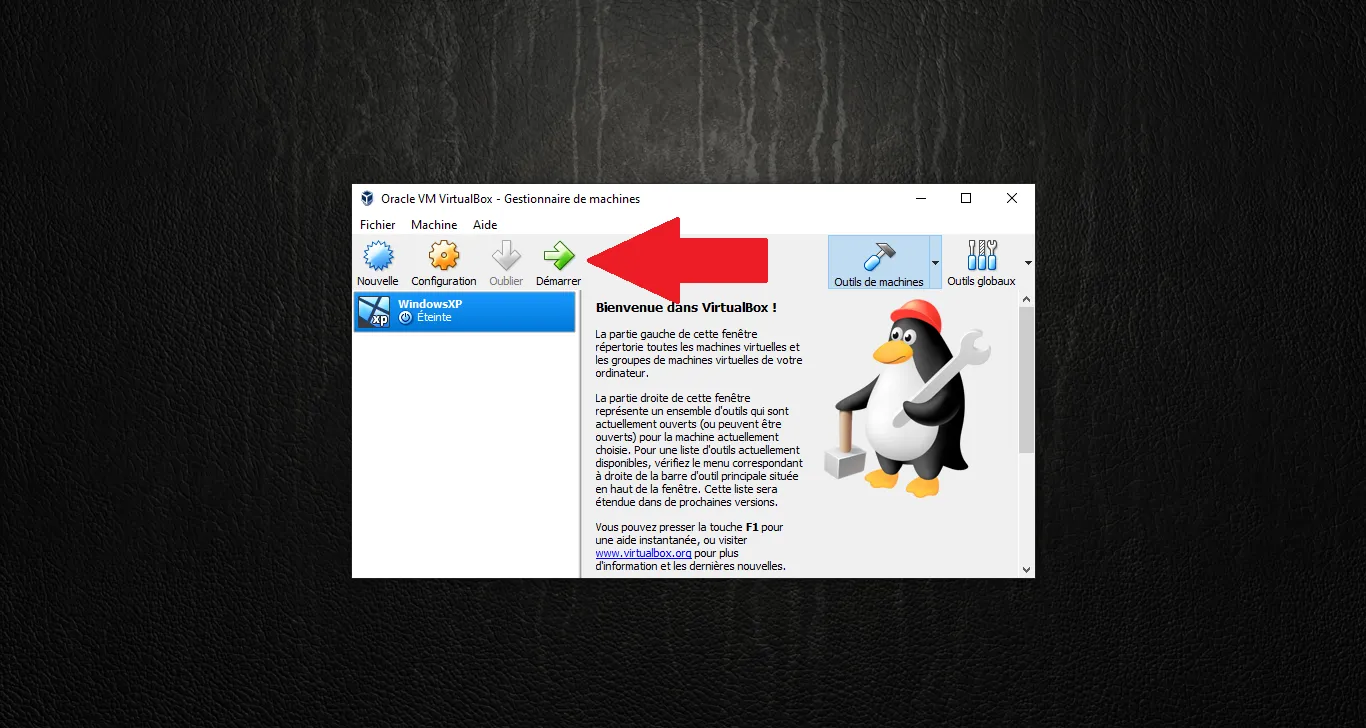
Everything is ready. Select your VM and click the green "Start" arrow.
Note: The machine will now boot from the ISO. In our next article, we will go through the Windows XP installation process itself and the crucial configuration of Guest Additions.
Technical validation:
- OS Version: Windows XP 32-bit (mandatory for 16-bit installers in some Saab tools).
- RAM: 1GB+ recommended for GlobalTIS server stability.
- Storage: VDI 20GB (Standard for legacy workshop setups).

